Spider Box Projects: L5 Connector anti-theft chain link.
L5 Connector anti-theft chain link:
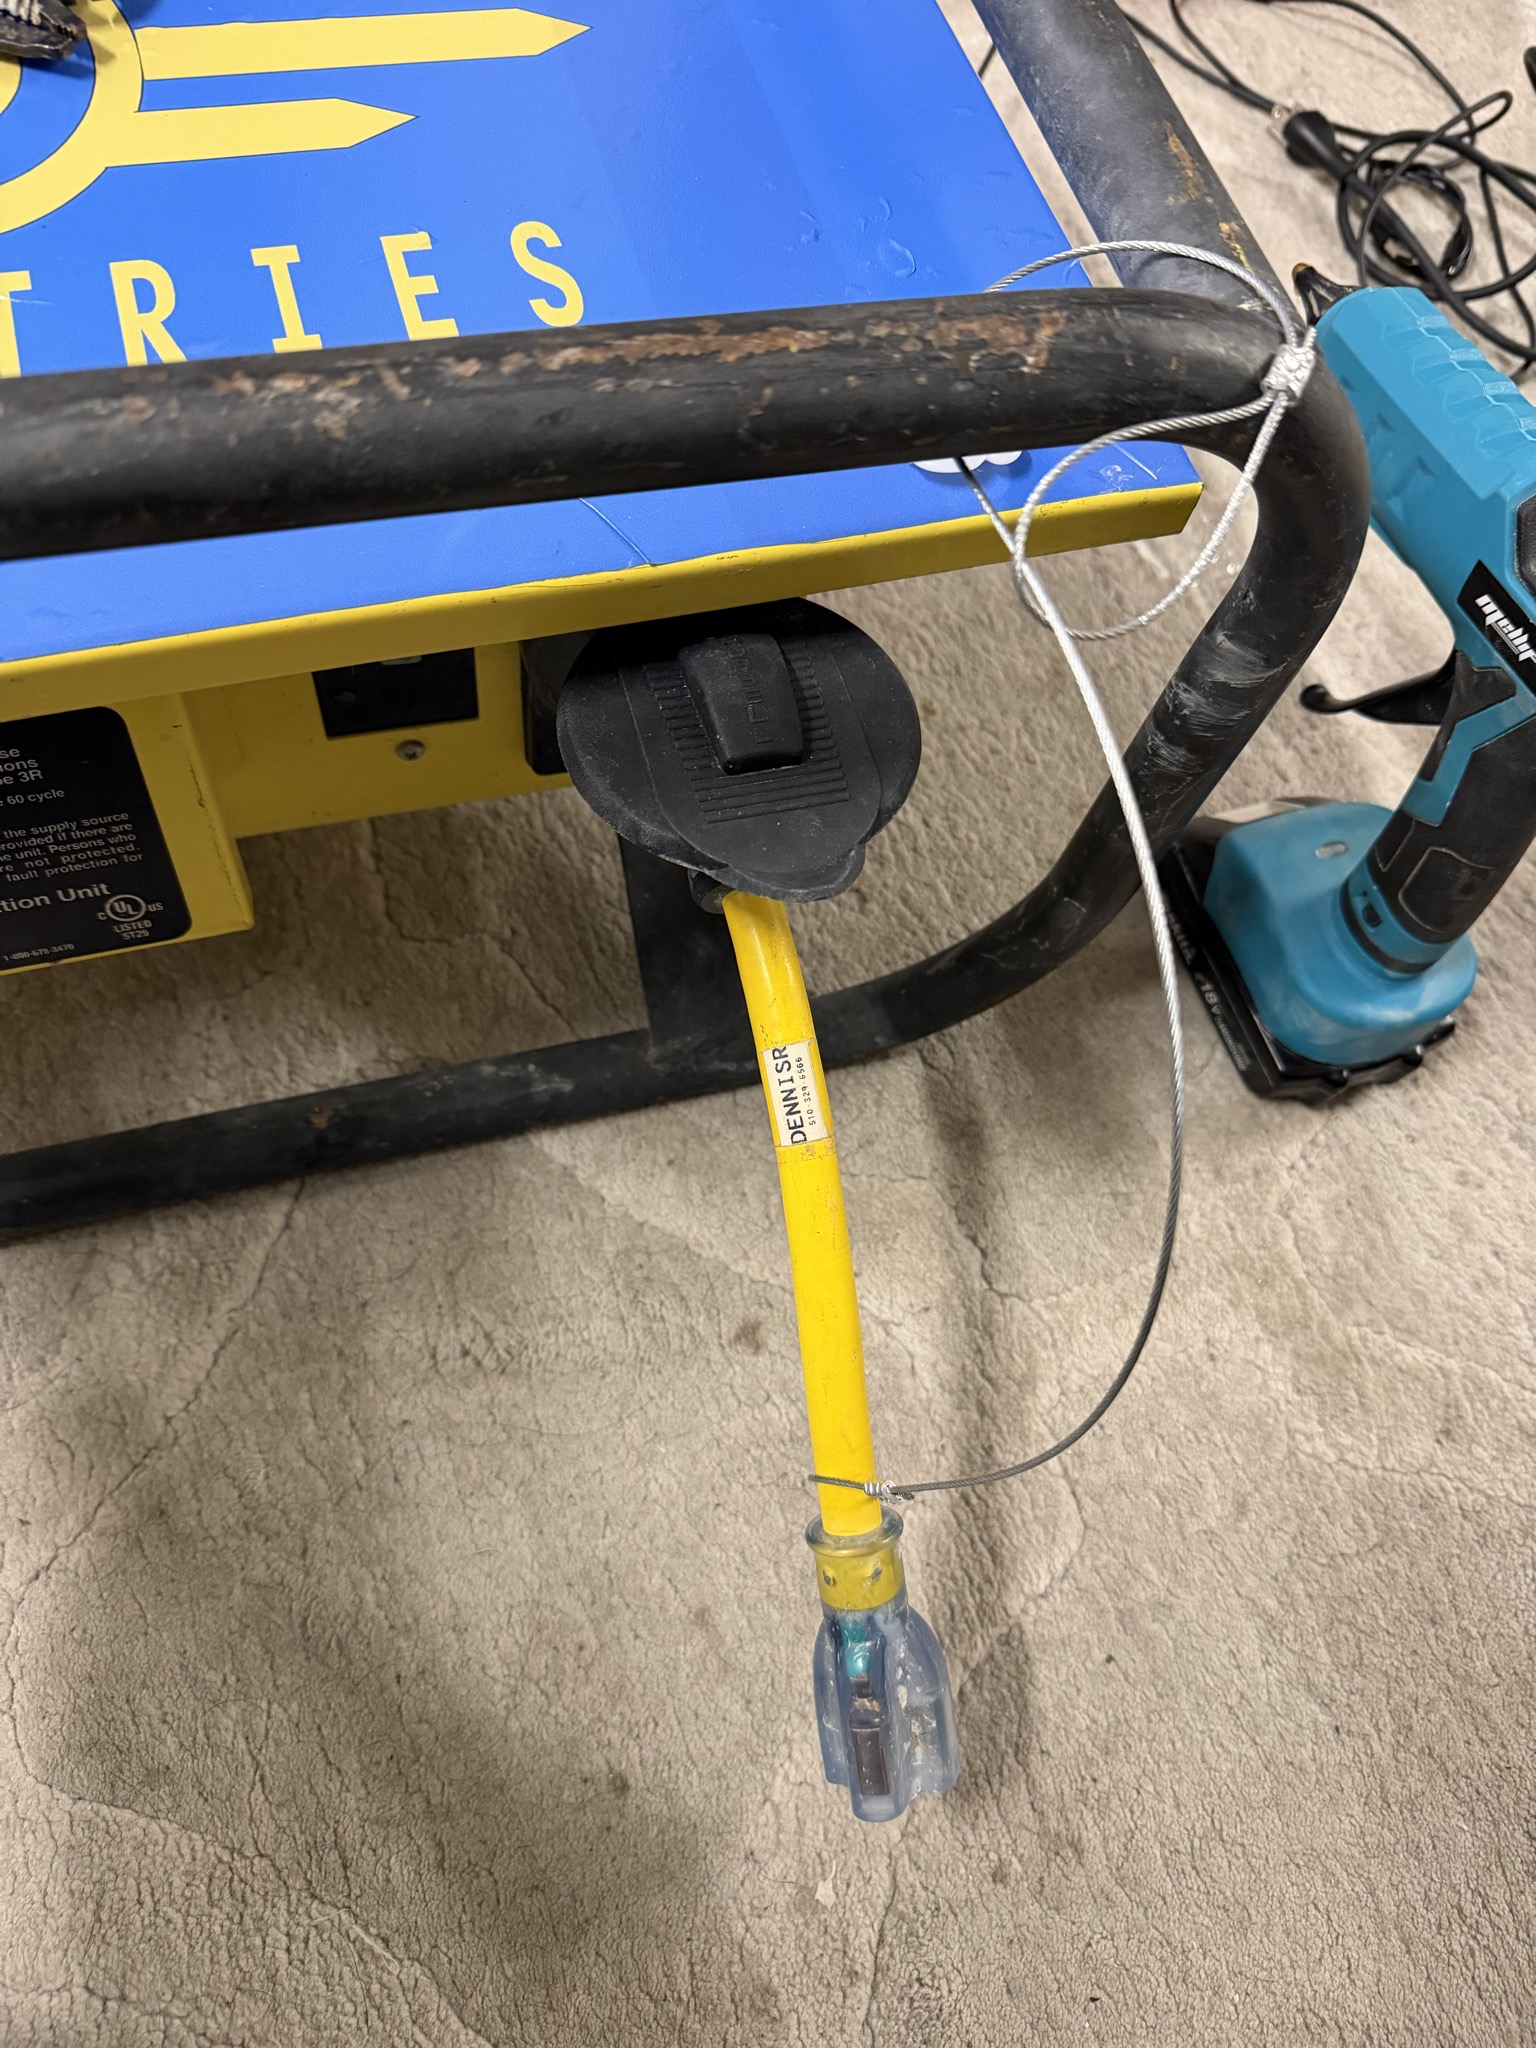
The goal of this design is to create a quick and simple way to lock or anchor power adapters to spiderboxes or similar distribution. I wanted to discourage/stop the average participant from stealing your adapter without creating a super permanent connection. The 1/16th cable is easily cut with dikes if someone abandons their adapter or is unable to unlock it. Someone with the right tools can quickly cut the cable.
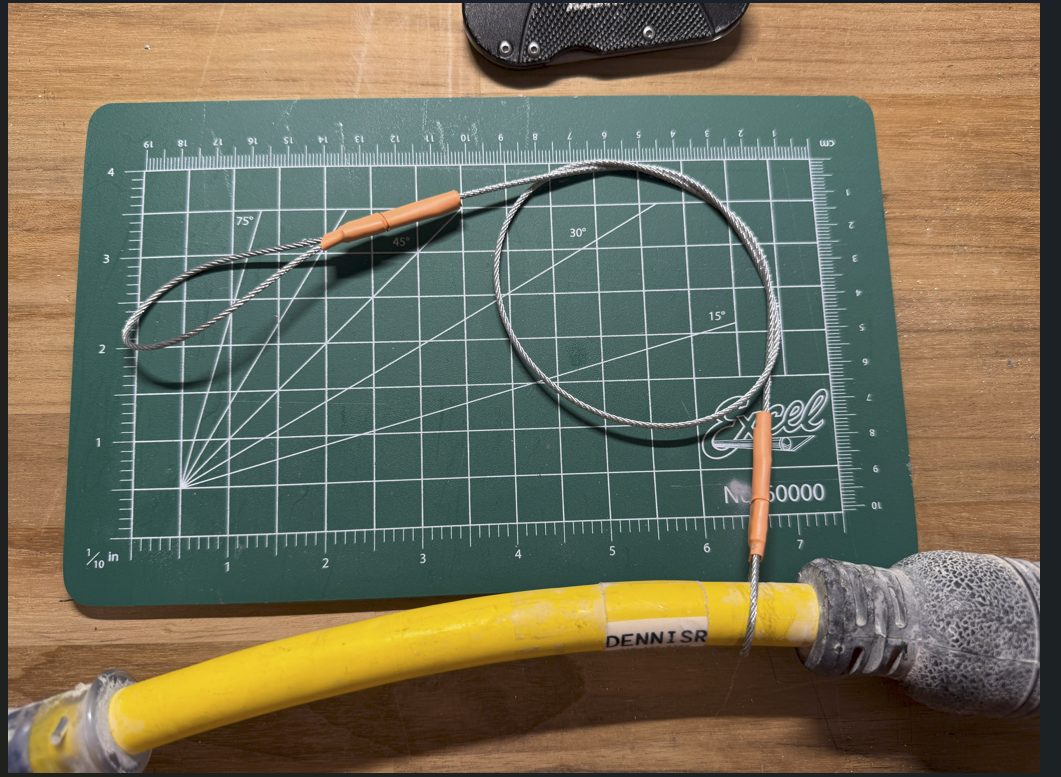
Materials Used:1x 28" 1/16th Steel Wire Rope [$0.31 a foot, so about $0.70] 2x 1/16th Aluminum Ferrules [$1.15 per pair if buying 10 pack] 1x L5-20P Adapter, $-15R [$16-20] 2x (optional) Brady 1.5x1" Self-Laminated Vinyl Wrap Label 2x (optional) 1.5-2" of 3/8th heat shrink
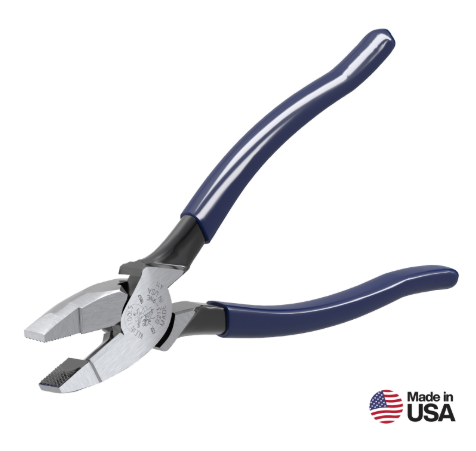
Tools Needed:1x Pair of Electrical Dikes (I used Linesmen Pliers, Klein Tools D213-9NE)
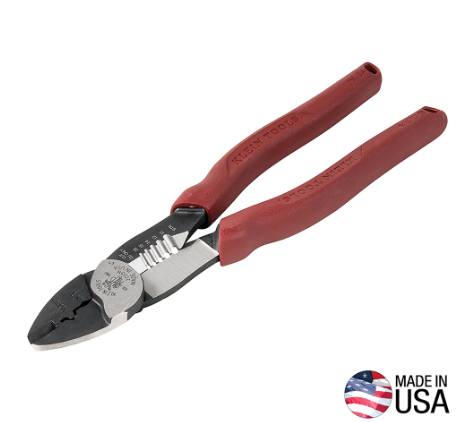
1x Ferrule Crimp (I cheat and use a more affordable Forged Wire Crimper, Klein Tools 2005N)
|
 |
How to Build:
Reading about this while at UnScruz or the Burn? Find DennisR/Overseer, I carry little kits with all the necessary components.
Step One: Gather Materials
Everything listed here is available at Home Depot for affordable prices. This is about a $20 project, including the adapter but without tools. $2.50 without. If you're just making one or two, I would avoid buying the Tools; Home Depot staff can cut the 28" steel wire for you from their "purchase per foot" spool. One of your friends will have a pair of wire strippers with a wire crimp in its handle, or check out your local library if they have a tool rental program. Oakland Library's loan tools; these tools are most likely in their inventory. Borrowing them saves you $70.
Step Two: Secure the Adapter to the cable
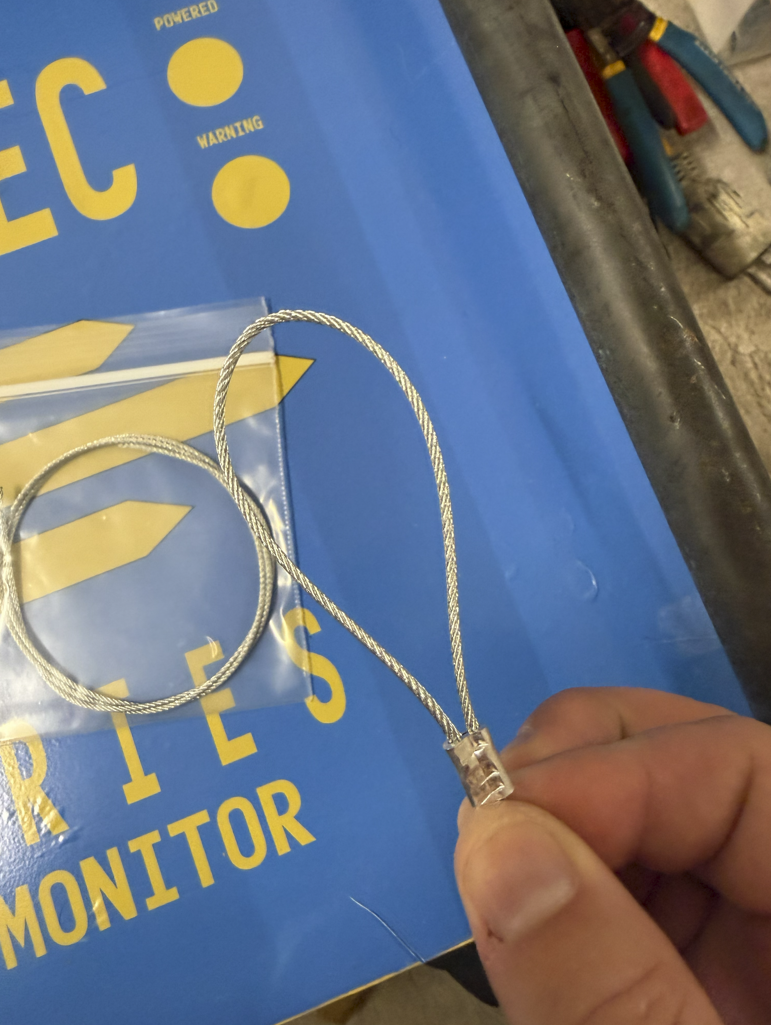
Important: Do not pull the wire rope tight around the L5 adapter, as it will slowly chew away at the plastic cable shielding if it can't rotate. Leave enough extra wire in the loop for it to move freely around the L5 Adapter.
Slide the Ferrule down the wire and create a loop around the L5 Adapter, leaving about 3/4" excess through the Ferrule. Because the loop's radius is so small/tight, you will need to hold the wires/furrule in place to crimp it. Using my non-dominant hand, I pinch both wires
| Slide the Wires through the Ferrule and around the Adapter, being tight enough that it can't slide through, but loose enough that the adapter can move freely. <IMAGE> |
Using my non-dominant hand, I pinch both wires below the Ferrule to hold it in place.
<IMAGE> |
Using your Crimp tool, crimp 1/4th of the Ferrule on the edge. Once the first crimp is done you can let go of pinching the end and move the ferrule around as needed for effective crimping <IMAGE> |
Note: If you're adding Heat Shrink [Step Four], add it to the cable now, don't heat it down till the end but add it before you create the second loop.
Step Three: Create the Locking Loop
Slide the Ferrule down the other side of the wire and create a loop just slightly bigger than the large end of the L5 Adapter, leaving about 3/4" excess through the Ferrule. Crimp the cable, and you're done!
| Slide the Wires through the Ferrule and around the Adapter, being tight enough that they can't slide through, but loose enough that the adapter can move freely. <IMAGE> |
Using my non-dominant hand, I pinch both wires below the Ferrule to hold it in place.
|
Using your Crimp tool, crimp 1/4th of the Ferrule on the edge. Once the first crimp is done, you can let go of pinching the end and move the ferrule around as needed for effective crimping <IMAGE> |
Step Four: Optional Features:
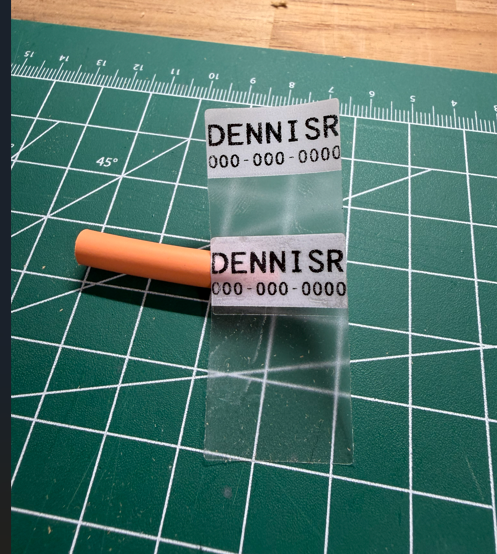
Add a Label with your contact info: I use 1.5x1" Self Laminating labels used for CatX cables. They have a small label, .75"x1", with a long clear laminating half of the sticker design to wrap around a smaller cable once or twice. I double them up, adding two labels so my contact info is on both sides. Keep it simple, I recommend just your First name, last initial, and your phone number. Mine says "DENNISR" with my number under the name, or "PLEASE RETURN" with my number under it.
|
Connect the two Labels together.
|
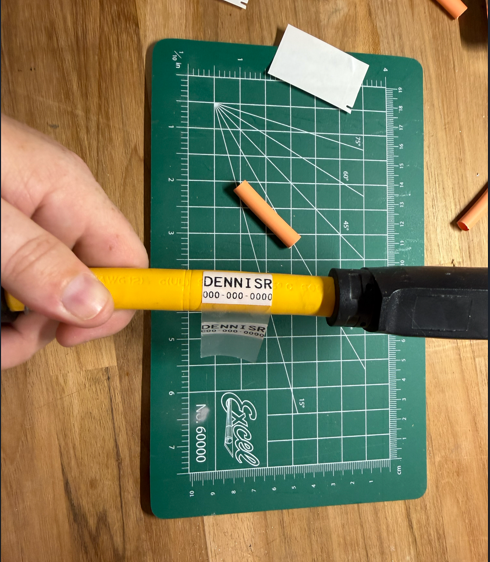
Please place the label side (top) down first on the adapter.
|
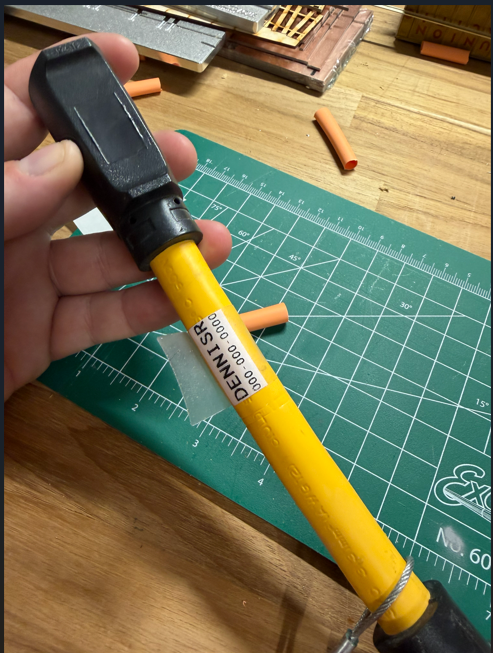
Wrap it around the cable, letting the extra clear vinyl wrap over the label.
|
Add heatshrink over the crimps: Over time, the tail ends sticking out of the crimped surface will fray. It's recommended to treat the ends, but since the 1/16th cable is so small, there aren't many options. Most of the time, I see a thick, most likely two-layer, heatshrink over the Ferrule and the extra tail of wire. If you have advice on this one, please let me know. I've also seen people add solder to the ends to prevent fraying and extend longevity.