# Spider Box Projects: Vinyl Wrapping

### **Vinyl Wrapping**

<table border="1" id="bkmrk-the-goal-of-this-des" style="border-collapse: collapse; width: 99.7619%;"><colgroup><col style="width: 50.0597%;"></col><col style="width: 49.9403%;"></col></colgroup><tbody><tr><td>
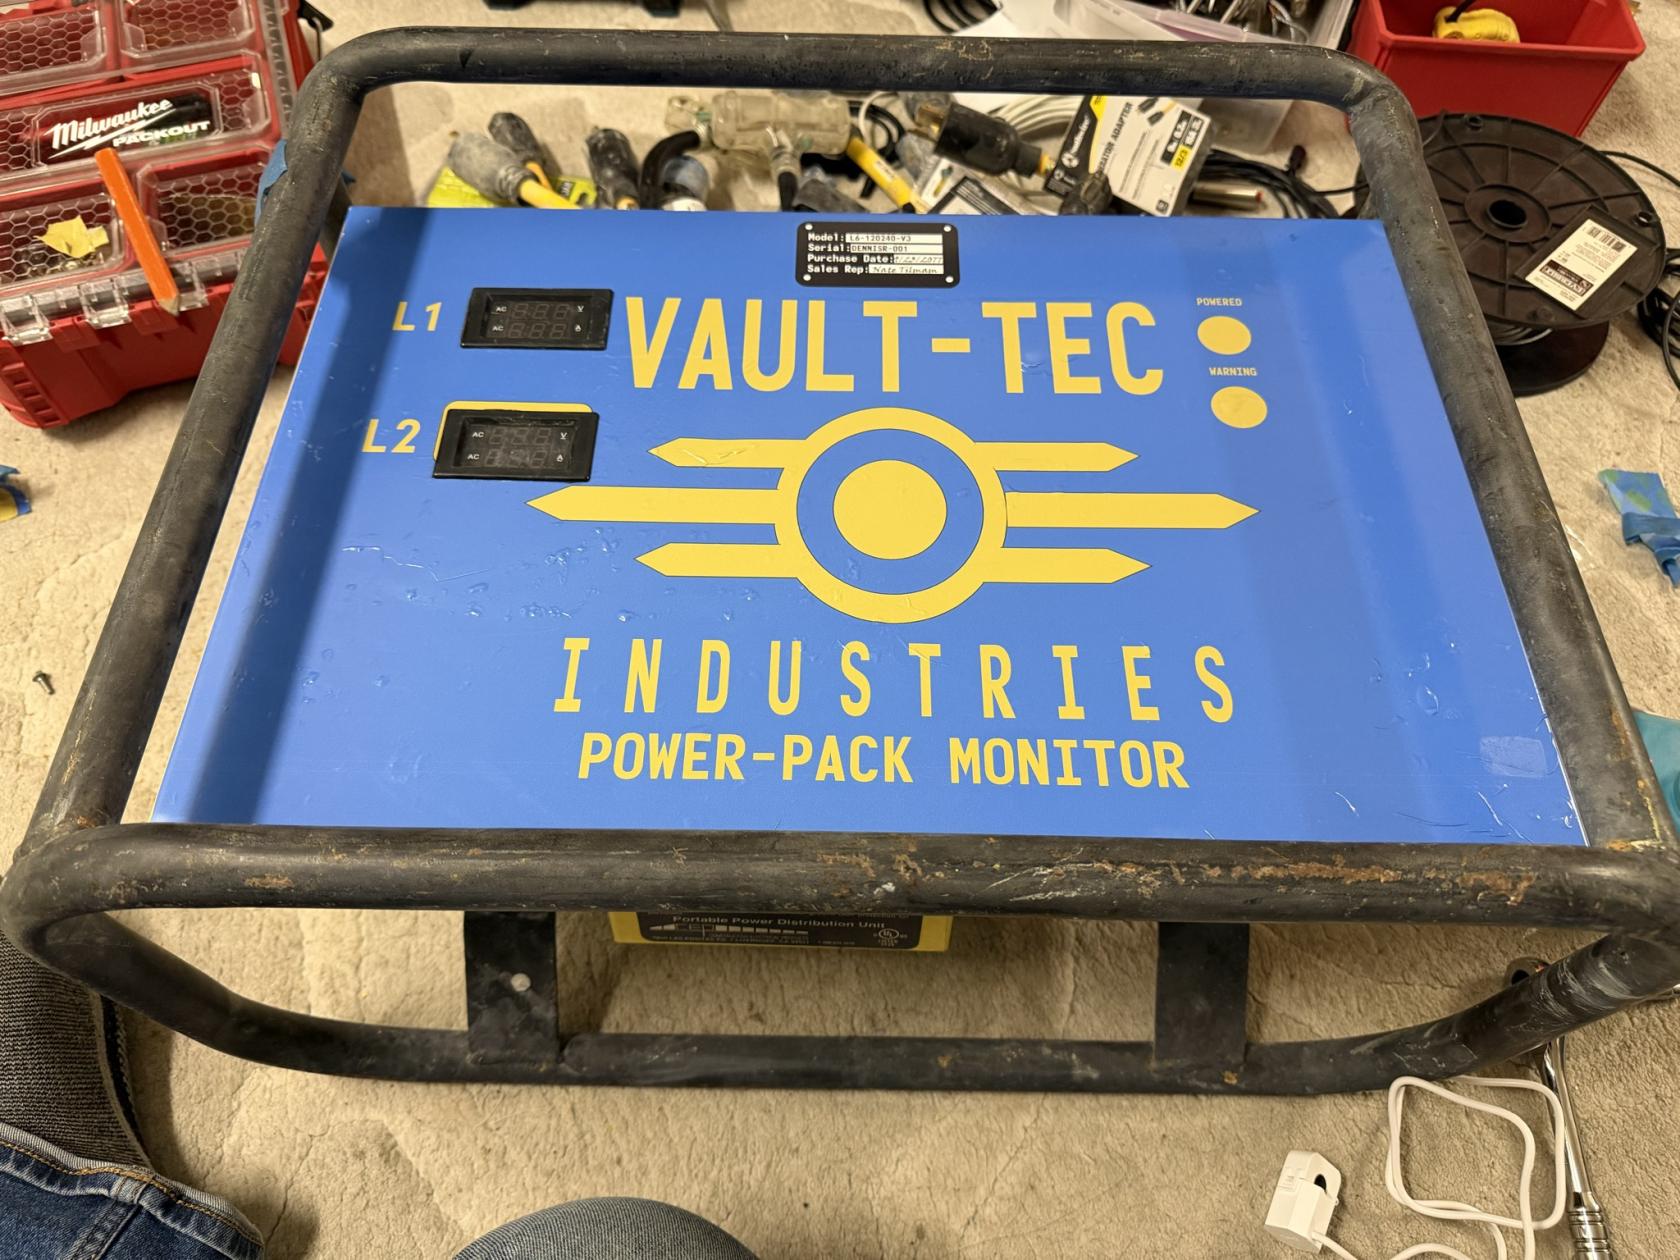
I've always wanted to paint my tow behind generator Blue with Vault-Tec branding. As I don't currently have a generator anymore, I thought I'd do my Spiderboxes. Having created the them camp Vault 21+ on Playa, it just made sense to keep the Fallout theme running.   
#### <span style="text-decoration: underline;">**Materials Used:**</span>

1x Vinyl Wrap, printed by my favorite shop, 11.5 x 22"

1x Various Heavy Duty cleaners and degreasers

#### <span style="text-decoration: underline;">**Tools Needed:**</span>

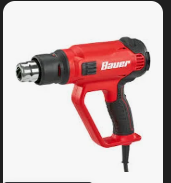
Heat Gun - Bauer \[Harbor Freight\] carries one for $35. If you buy a $150 Milwuakee one, you'll waste $115... It's a heat gun. (Say's the guy with his $215 cordless Makita Heat gun)

  
[![image.png](https://docs.retallickengineering.com/uploads/images/gallery/2026-04/scaled-1680-/q9uimage.png)](https://docs.retallickengineering.com/uploads/images/gallery/2026-04/q9uimage.png)

  
</td><td>[![IMG_1990.jpg](https://docs.retallickengineering.com/uploads/images/gallery/2026-04/scaled-1680-/img-1990.jpg)](https://docs.retallickengineering.com/uploads/images/gallery/2026-04/img-1990.jpg)

Disclaimer: Vault-Tec is trademarked by ZeniMax Media Inc, the owners of Bethesda. This was done purely for fun; I have not, and will not, gain any profit from this. Please don't sue meeeee. Also, that is why the template used is not listed here for public download, and I will not be sharing it.

</td></tr></tbody></table>

### <span style="text-decoration: underline;">**How to Build:**</span>

##### <span style="text-decoration: underline;">Step One:</span> Gather Materials

Don't use my design; be creative and create something unique to you! Create your own sticker with notes and warnings. I've always wanted to create a complete technical drawing of the electrical layout in the spider box for the cover plate.   
  
The drawing was done in Adobe Illustrator with an art board of 11.5 x 22". The actual drawing has curved corners that I really liked, but to keep the cost down, \[about $15-20 a print!\]. it didn't go through a plotter, so all the cutting is on me to do at home.

[![image.png](https://docs.retallickengineering.com/uploads/images/gallery/2026-04/scaled-1680-/OuPimage.png)](https://docs.retallickengineering.com/uploads/images/gallery/2026-04/OuPimage.png)  
  
I also made a pretend nameplate sticker as a part of the overall sticker. It might make more sense to make these as an alternative   
sticker that you just add. I was being a little lazy and just added them to the main drawing instead of two pieces.  
  
I like looking through Sci-Fi games or movies \[Especially 1970/1980s films: Alien / 5th Element\] like Avatar, Halo, Thunderbirds Are Go, Fallout, Starfield, and my friend Craig's Backyard for inspiration.

#####   
<span style="text-decoration: underline;">Step Two:</span> Send the drawing off to a print shop.

I highly recommend Silicon Valley Graphics. They have done most of my sticker printing since 2017. LoAnn and Usman are wonderful, quick to respond, and have a super quick turnaround time. Almost all of my orders have been processed the same day! Don't go to the big internet printers, go to your local and neighboring shop!   
  
I always let them know when prints are for events like UnScruz or Burning Man, and they tend to give me a good price in exchange for agreeing to do some of the cutting myself or using scrap material. Happy to have been a customer of theirs for almost a decade.

<table border="1" id="bkmrk-510-657-5853-sales%40s" style="border-collapse: collapse; width: 100%;"><colgroup><col style="width: 33.3333%;"></col><col style="width: 33.3333%;"></col><col style="width: 33.3333%;"></col></colgroup><tbody><tr><td><div class="cht-num">[510-657-5853](tel:%20510-657-5853)</div><sales@svgprint.com>

</td><td>**45333 Fremont Blvd. #5, Fremont, CA 94538**</td><td>[![image.png](https://docs.retallickengineering.com/uploads/images/gallery/2026-04/scaled-1680-/IZBimage.png)](https://docs.retallickengineering.com/uploads/images/gallery/2026-04/IZBimage.png)

</td></tr></tbody></table>

##### <span style="text-decoration: underline;">Step Three:</span> Attaching the Vinyl. 

<span style="color: rgb(68, 68, 68);">This was really hard and required a lot of patience. The photos referenced in this document are my first attempt ever, and if you look closely, you can see the sticker covered in little dots. Those are air bubbles trapped under the vinyl. Hopefully, by the time you're reading this, I've replaced it with another attempt! Usman, with SVG, informed me that the bubbles are most likely from an uneven surface. While I did a deep clean of the surface before, I still rushed the process a little bit. It will take some experimenting to get it just right. </span>

<table border="1" id="bkmrk-slide-the-wires-thro-1" style="border-collapse: collapse; width: 100%; height: 173.797px;"><colgroup><col style="width: 27.2917%;"></col><col style="width: 40.2888%;"></col><col style="width: 32.4195%;"></col></colgroup><tbody><tr style="height: 173.797px;"><td style="height: 173.797px;">Slide the Wires through the Ferrule and around the Adapter, being tight enough that they can't slide through, but loose enough that the adapter can move freely.  
  
&lt;IMAGE&gt;</td><td style="height: 173.797px;">Using my non-dominant hand, I pinch both wires below the Ferrule to hold it in place.

&lt;IMAGE&gt;

</td><td style="height: 173.797px;">Using your Crimp tool, crimp 1/4th of the Ferrule on the edge. Once the first crimp is done, you can let go of pinching the end and move the ferrule around as needed for effective crimping  
  
&lt;IMAGE&gt;</td></tr></tbody></table>

##### <span style="text-decoration: underline;">Step Four:</span> Optional Features:

<span style="text-decoration: underline;">List your optional Features</span>: list one option part and its additional information here as the last step.